Getting Started with Workflow Job Templates
Getting Started with Workflow Job Templates
Welcome to another post in the Getting Started series! Today we're going to get into the topic of Workflow Job Templates. If you don't know what regular Job Templates are in Red Hat Ansible Tower, please read the previously published article that describes them. It'll provide you with some technical details that'll be a useful jumping-off point for the topic of workflows.
Once you're familiar with the basics, read on! We'll be covering what exactly Workflow Job Templates are, what makes them useful, how to generate/edit one, and a few extra pointers as well as best practices to make the most out of this great tool.
What is a Workflow Job Template?
The word "workflow" says it all. This particular feature in Ansible Tower (available as of version 3.1) enables users to create sequences consisting of any combination of job templates, project syncs, and inventory syncs that are linked together in order to execute them as a single unit. Because of this, workflows can help you organize playbooks and job templates into separate groups.
Why are Workflows Useful?
By utilizing this feature, you can set up ordered structures for different teams to use. For example, two different environments (i.e., networking and developers) can interface via workflows as long as they have permissions to access it. Not everyone involved will need to know what job run goes after what, since the structure is set up for them by the user who created the workflow. This connects disparate job types and unifies projects without each team needing to know everything about what the other does.
Another reason workflows are useful is because they allow the user to take any number of playbooks and "daisy chain" them, with the ability to make a decision tree depending on a job's success or failure. You can make them as simple or as complex as they need to be!
How Do You Create One?
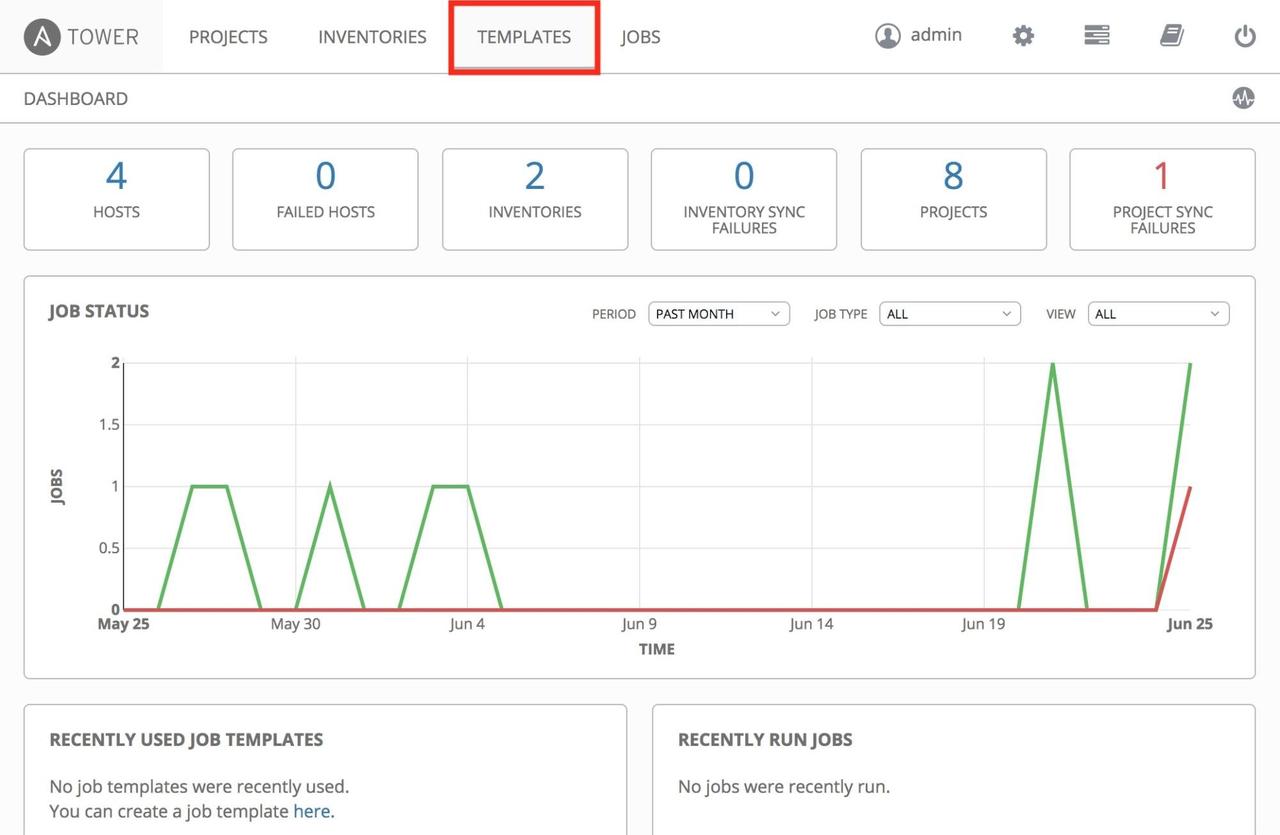
[Go into the Templates section on the top menu of Ansible Tower:
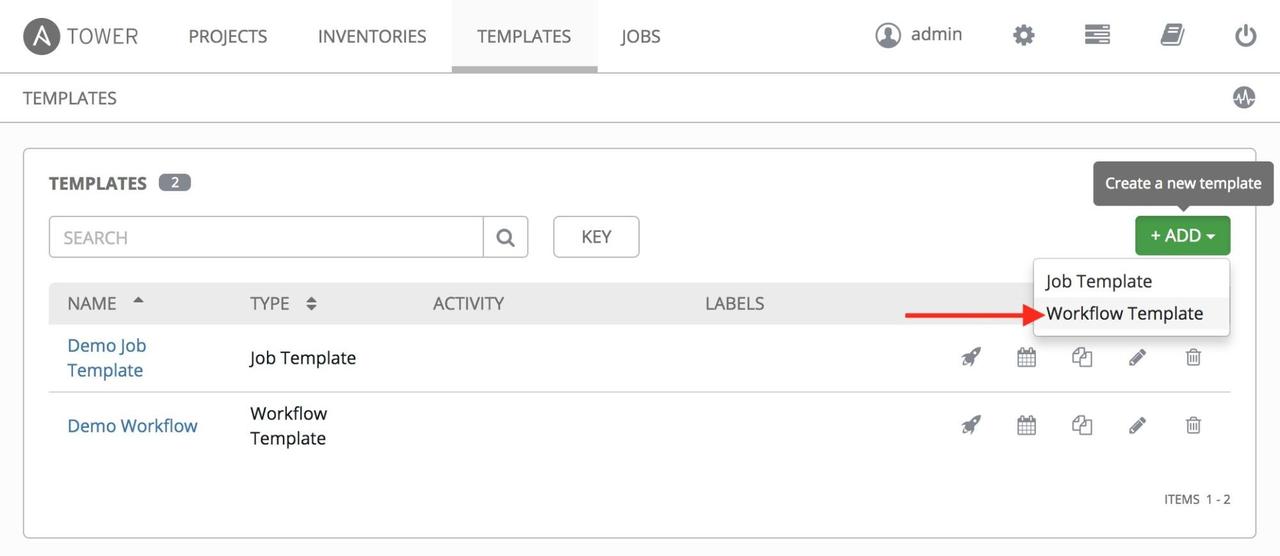
From there, click on "Add", but make sure to select "Workflow Template":
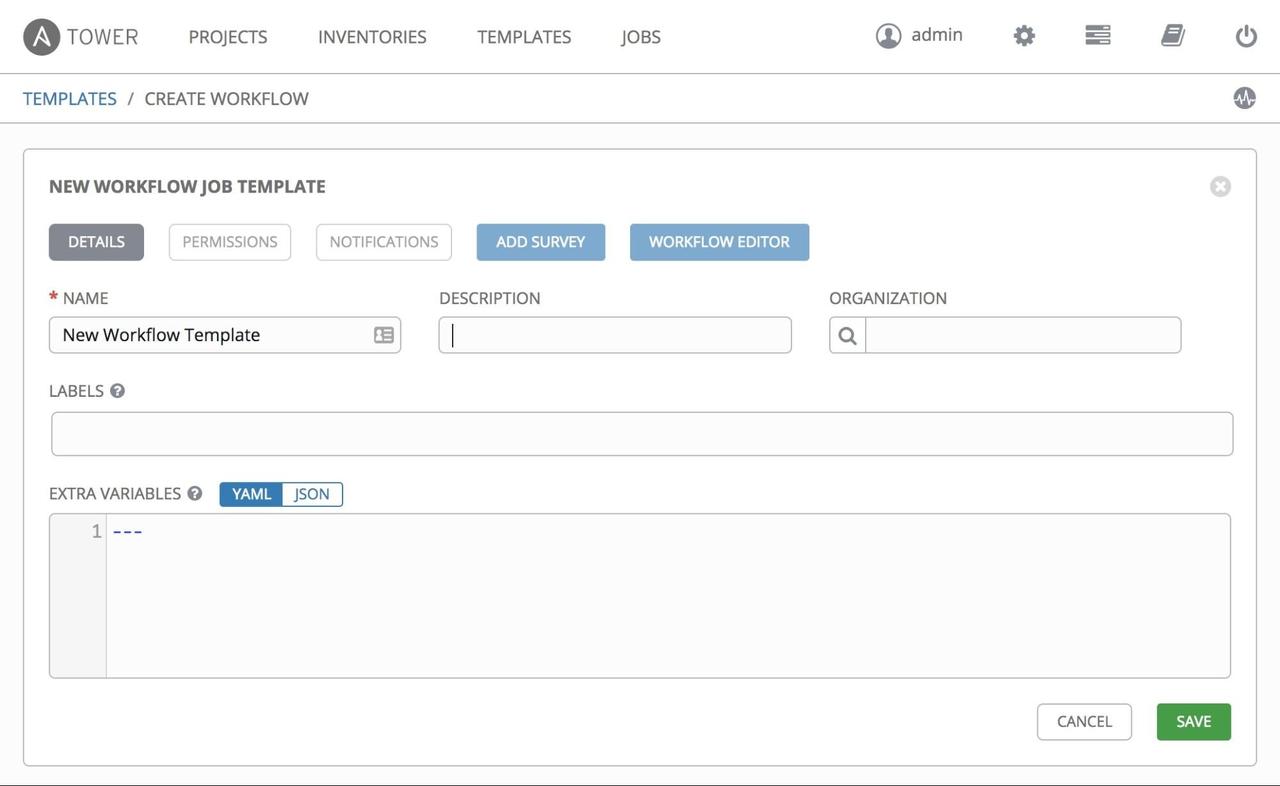
You'll see this new screen, where you can name your workflow template anything you like and save it:
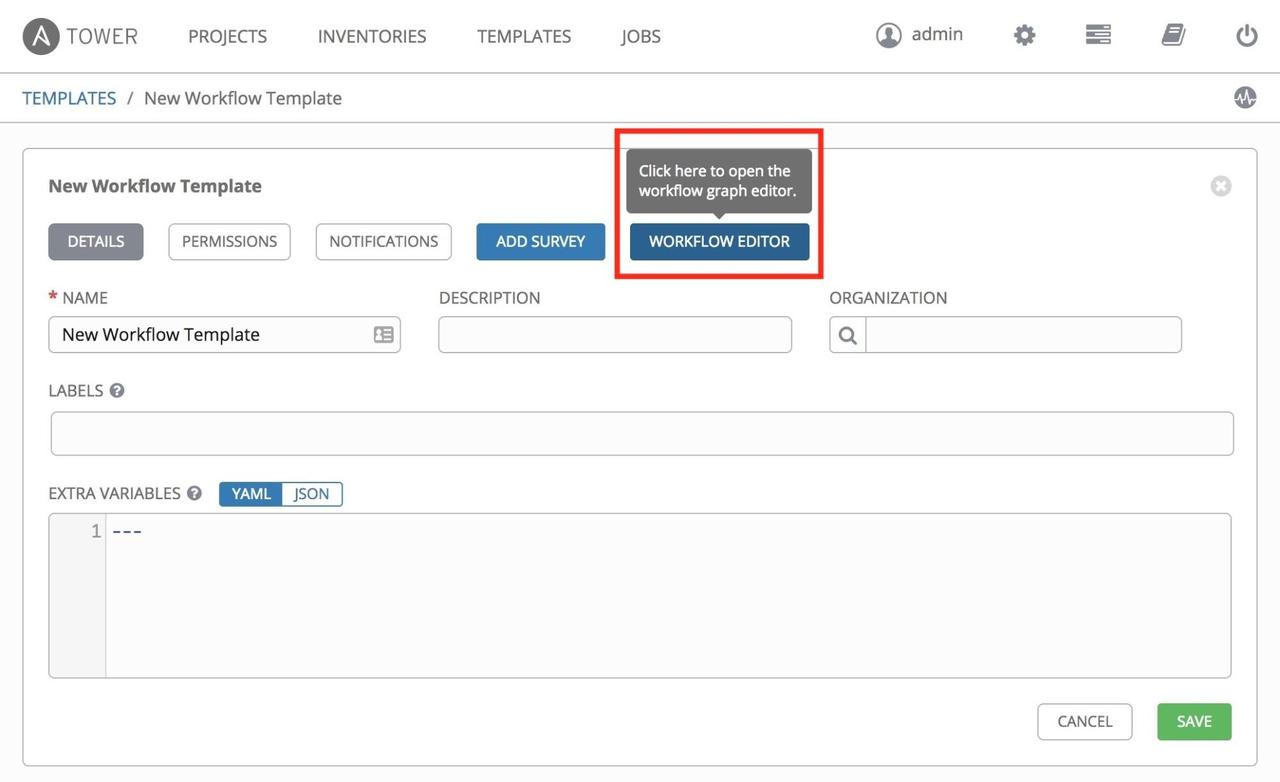
Once you've done that, go into "Edit Workflow":
This screen will come up, where you can add different job templates and make sure they run on failure, success, or with either outcome:
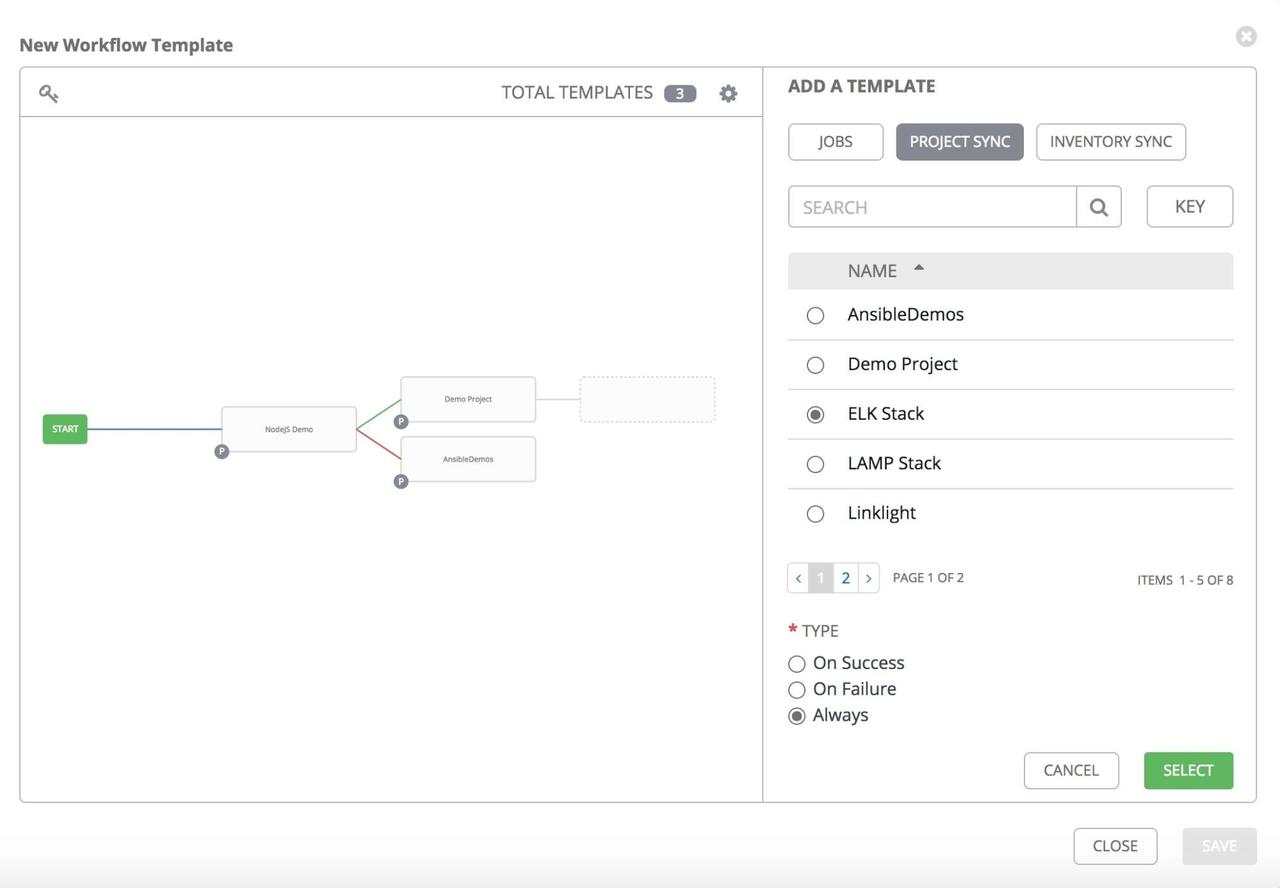
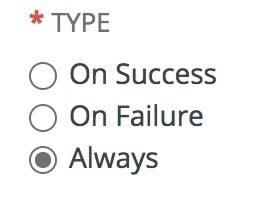
Note that you can decide if things run on success, on failure, or always.
[**
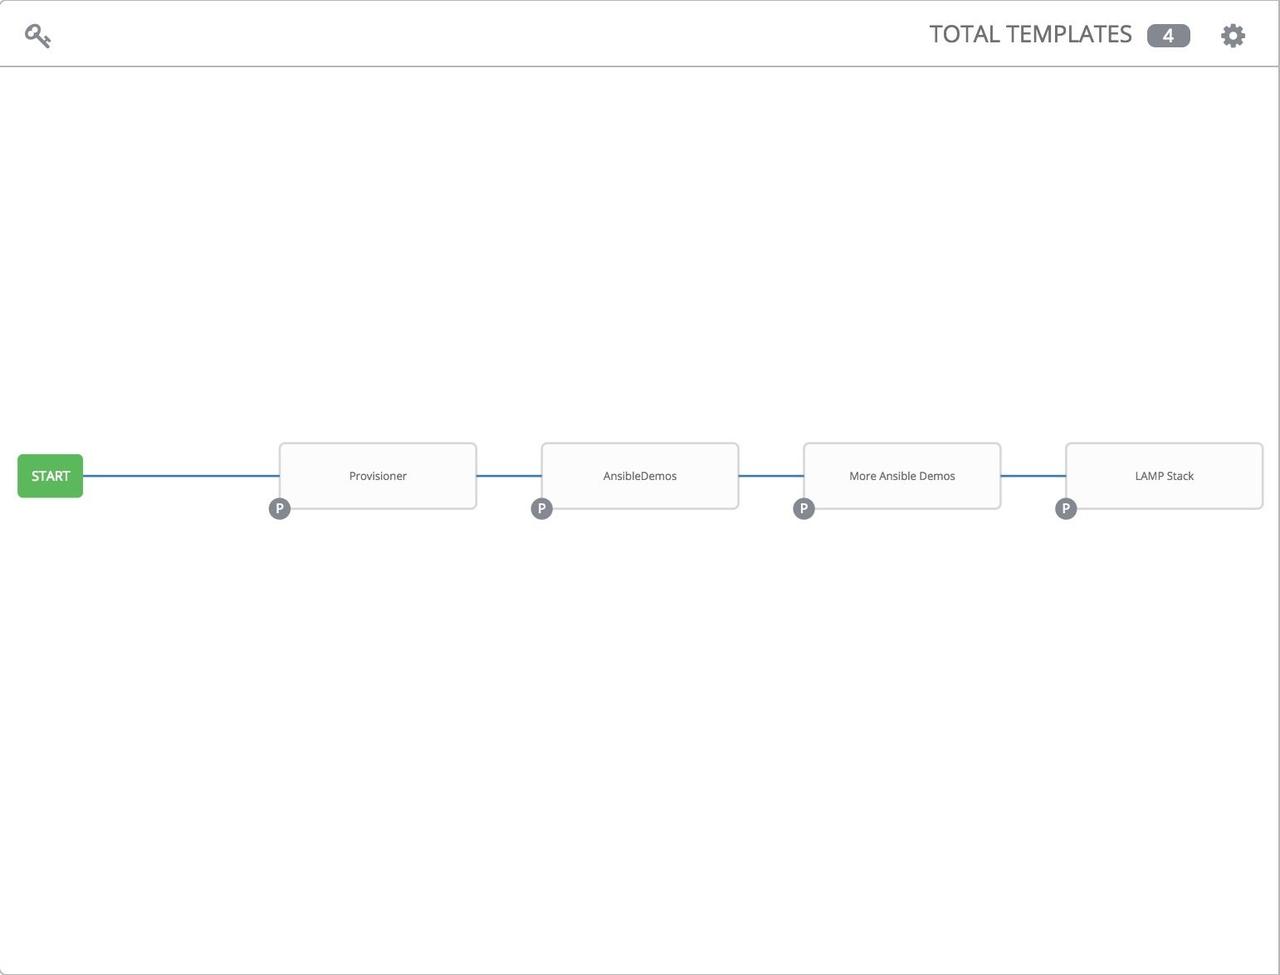
As mentioned in the previous section, you can make your Ansible workflow as simple...
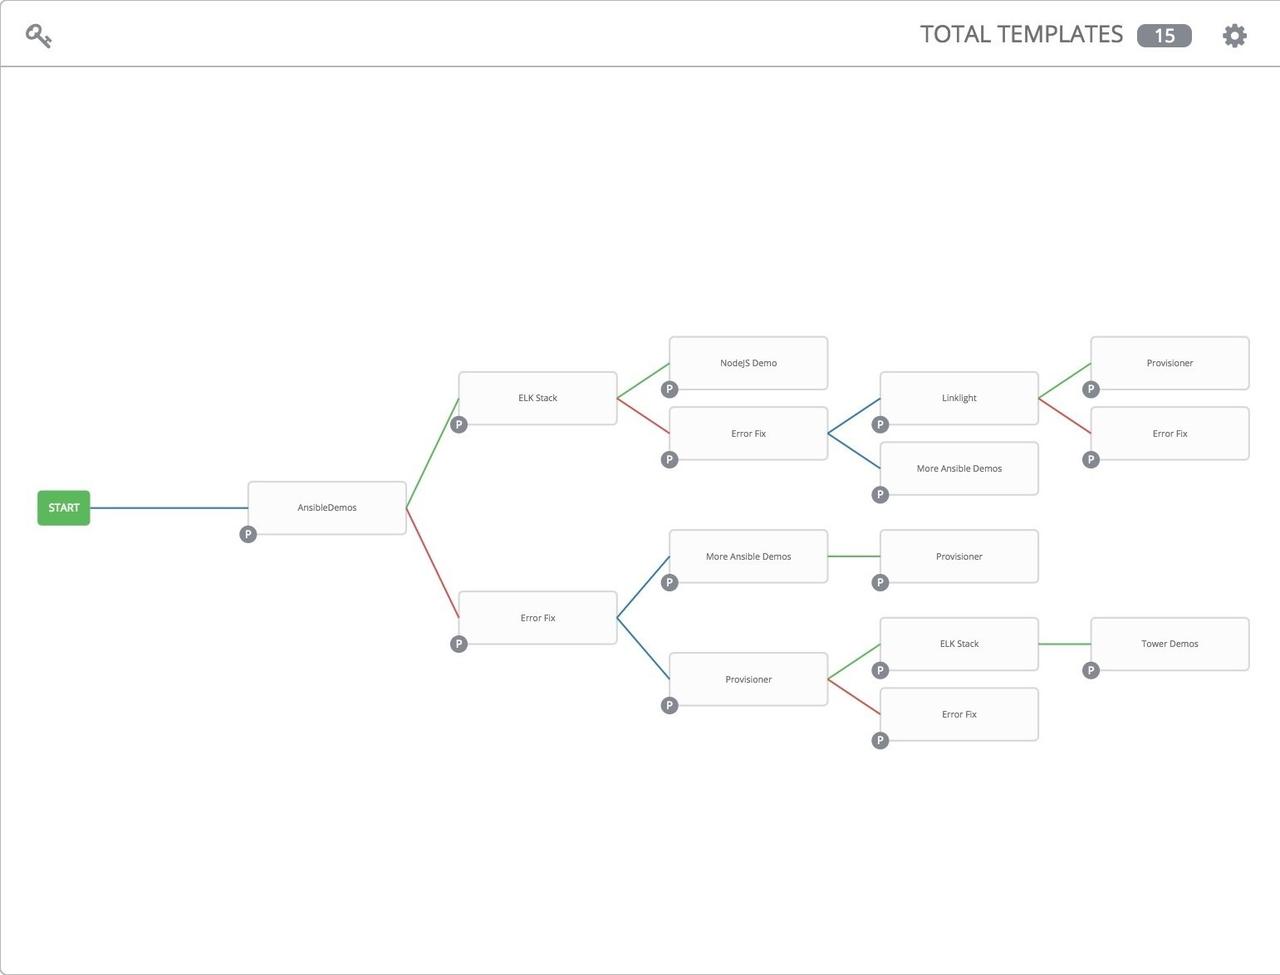
...or complex as you need to!
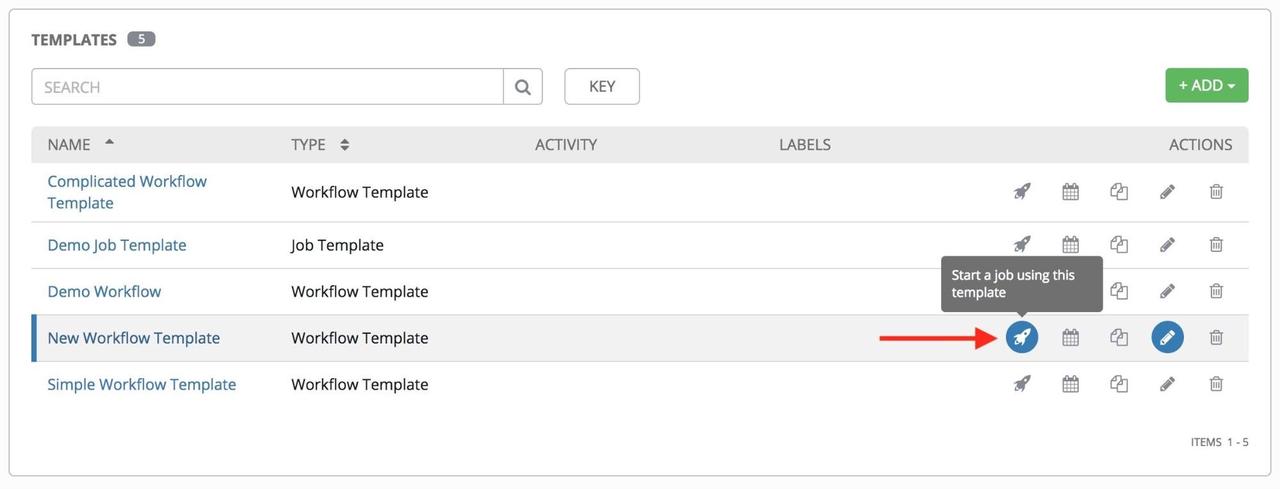
After everything is set and saved, you're ready to launch your template, which you can do by clicking on the rocket icon next to the workflow you'd like to run:
What More Can You Do With Workflows?
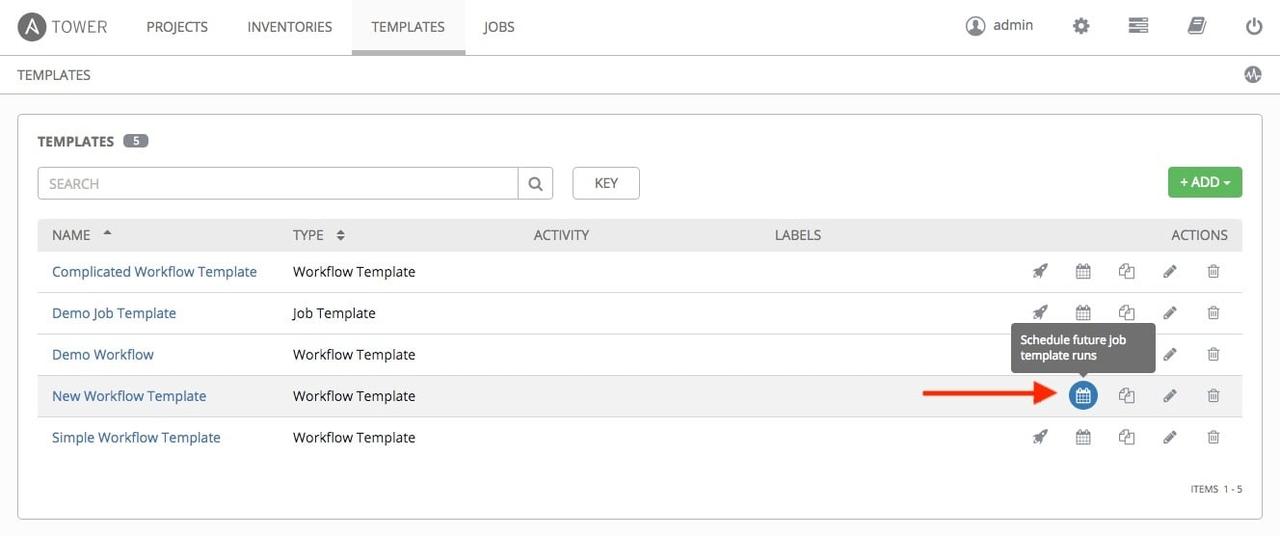
You can schedule your workflows to run when you need them to! Just click on the calendar icon next to any workflow job template:
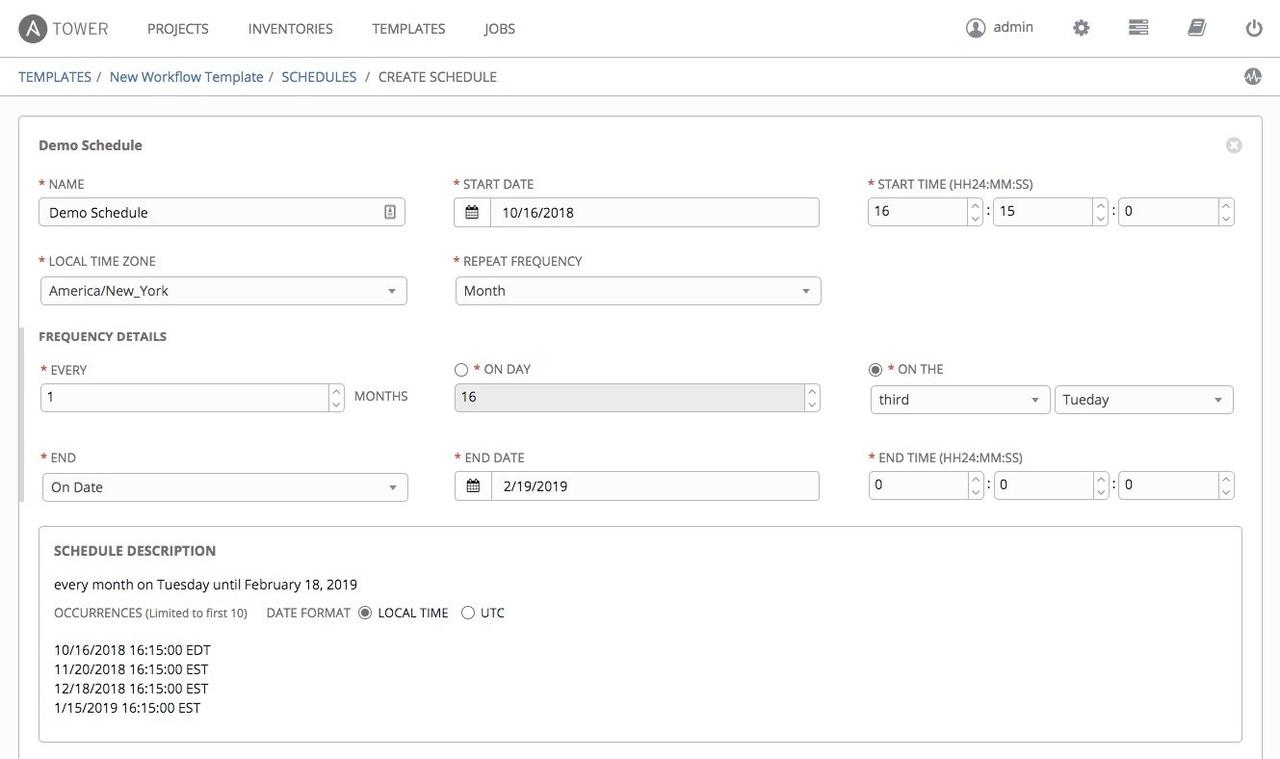
... and fill out the information for when you want the specified workflow to automatically run:
 If you have a workflow template created that works very well for you and
you'd like to copy it, click on the button highlighted below:
If you have a workflow template created that works very well for you and
you'd like to copy it, click on the button highlighted below:
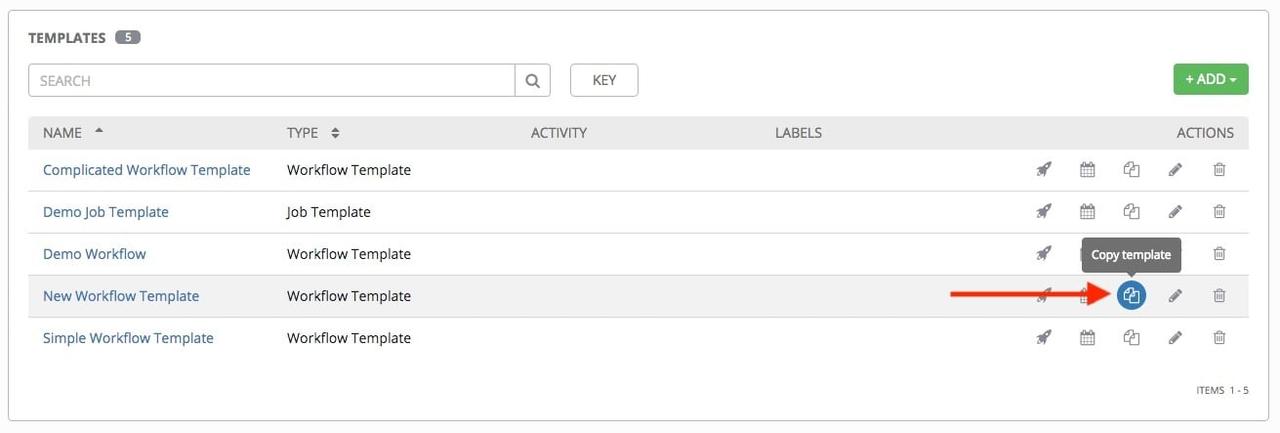
Keep in mind that copying a workflow won't also copy over any of the permissions, notifications, or schedules associated with the original.
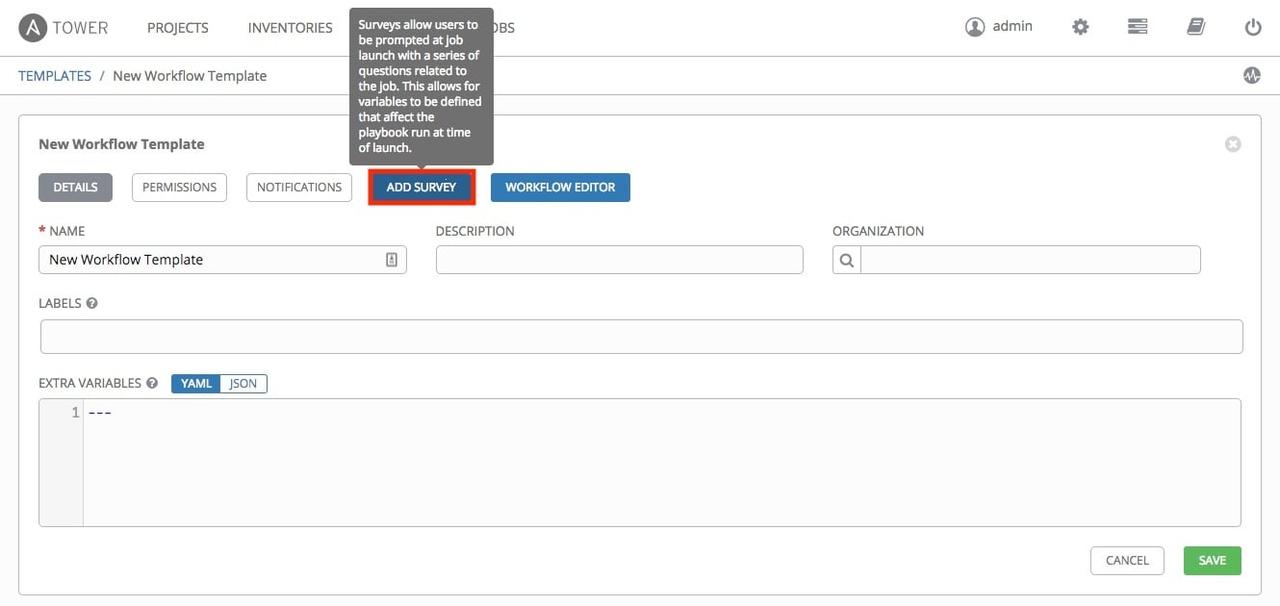
If you need to set extra variables for the playbooks involved in a workflow template and/or allow for authorization of user input, then setting up surveys is the way to go. In order to set one up, select a workflow template and click on the "Add Survey" button:
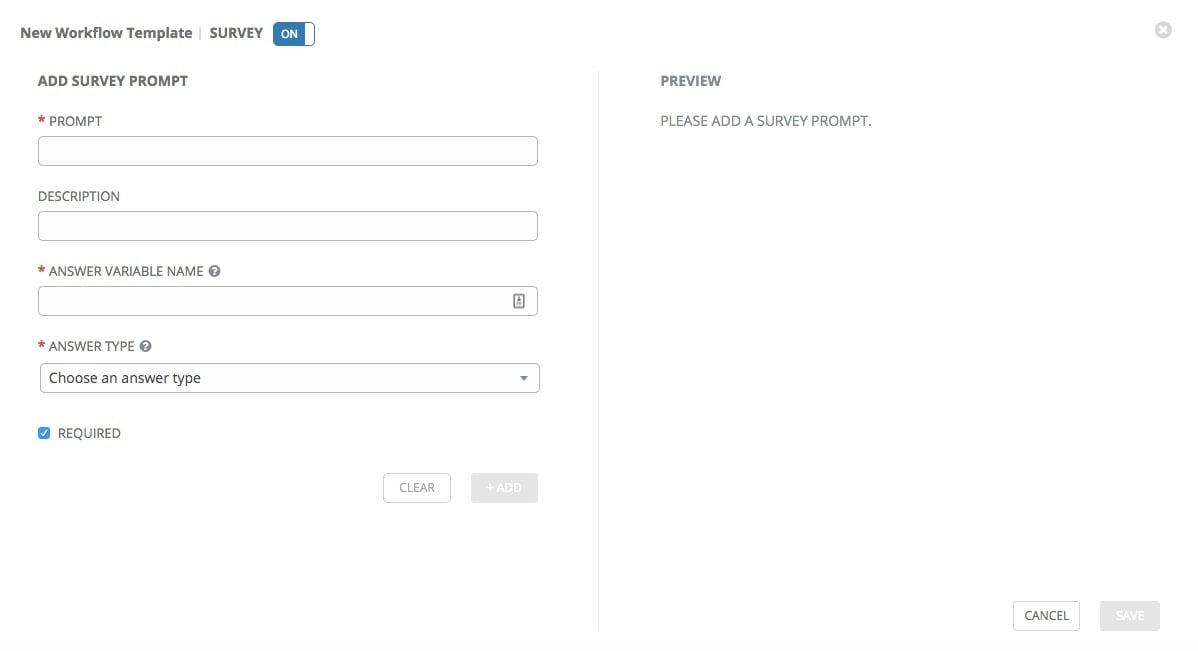
A survey screen that you can fill out with specific questions and answer types will show up:
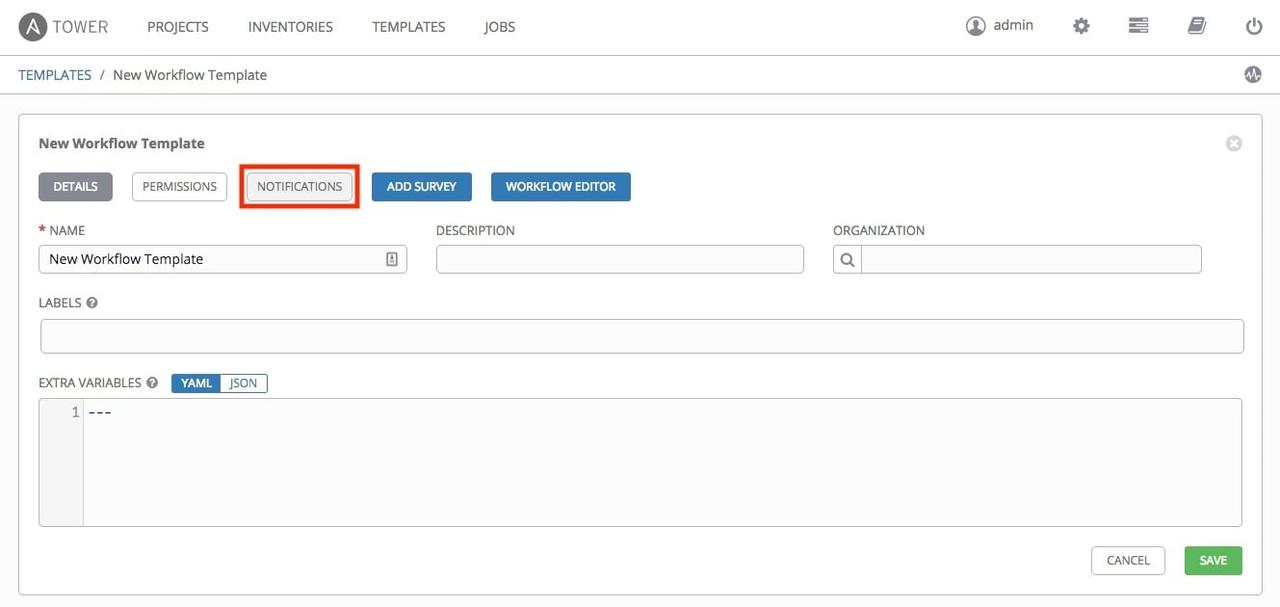
Notifications can give you more control and knowledge related to specific workflows. To activate one, select the workflow that you want to set notifications for, then click the Notifications button:
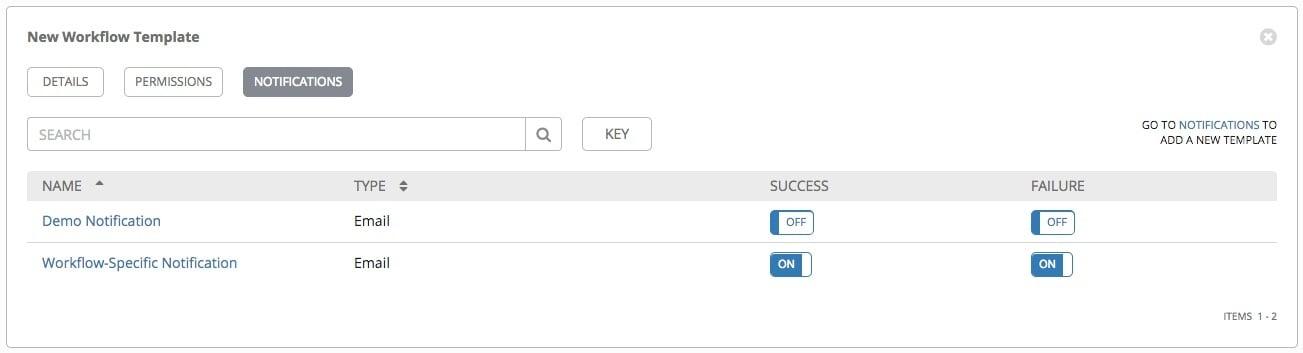
Keep in mind that you'll have to already have some notifications set up in the Notifications list. The screen that comes up will enable you to select specific notifications; in the example below the "Workflow-Specific Notification" has been set to activate on either a successful or failed run:
Note: Make sure you have "update on launch" on your inventory selected when you make a new workflow job template if you're acting against a dynamic inventory!
Conclusion
Now you know how to combine any number of playbooks into a customized decision tree, with the ability to schedule those jobs, add notifications, and much more. An added bonus is the fact that this isn't an enterprise-only feature, so no matter your Ansible Tower license type, you can log into your instance and have fun creating workflows!
To read more about how to create and modify workflow job templates, check out our official documentation page on the topic.
I hope this article was helpful, and that it enables you to take advantage of the powerful automation features that are possible with Ansible Tower!